7 Steps to Make Authentic Lahori Chana Recipe (Chikar Cholay) at Home
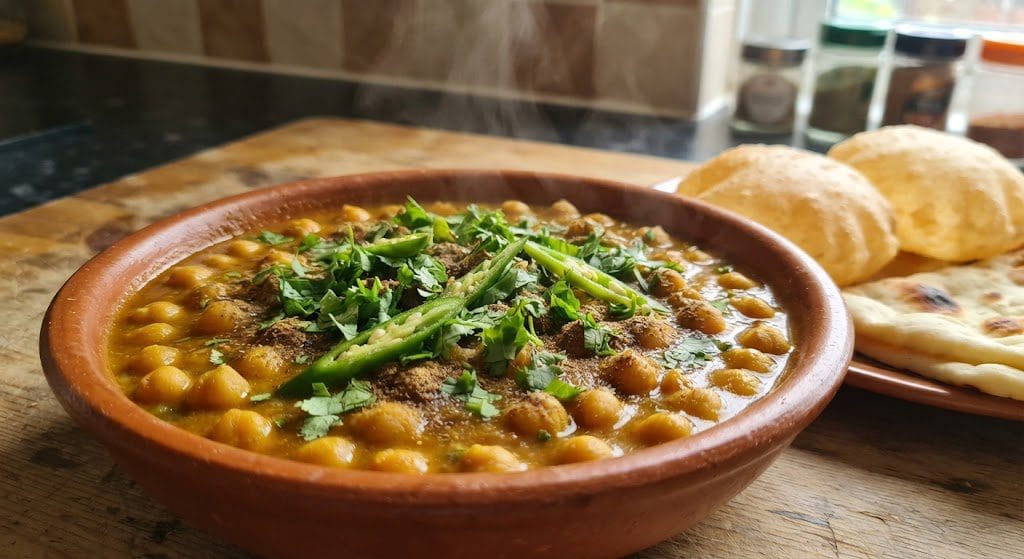
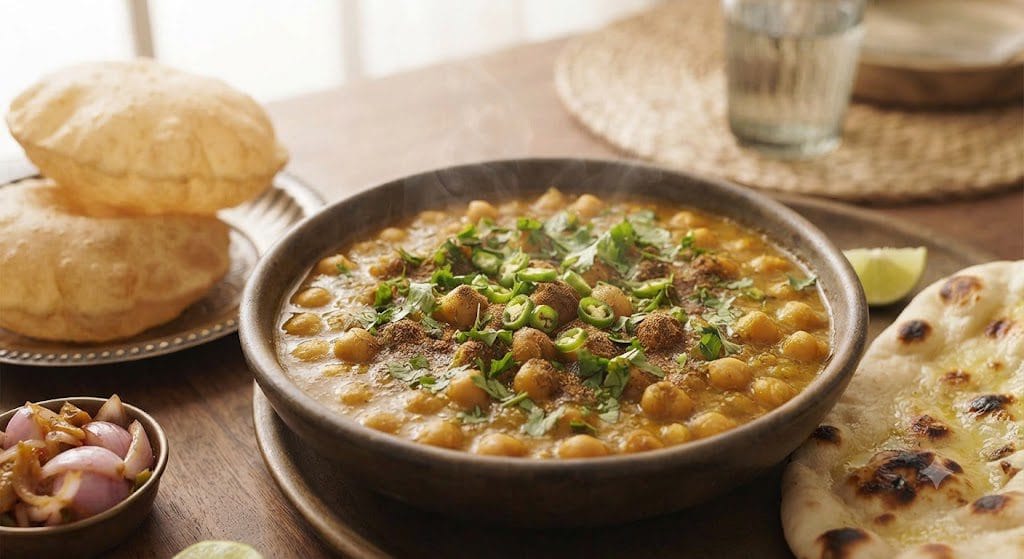
Authentic Lahori Chana Recipe (Chikar Cholay) – Step-by-Step Guide
Ingredients
Method
- Boil the Chickpeas: Add baking soda and salt to the chickpeas and boil them until they become completely soft. Do not discard the water.

- Masala Bhunain: Heat oil in a separate pan and fry the onions until golden brown. Then, add the ginger-garlic paste and sauté well.
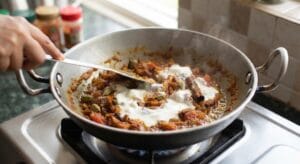
- Spices & Yogurt: Add all the dry spices and yogurt, and sauté well until the oil separates from the masala.
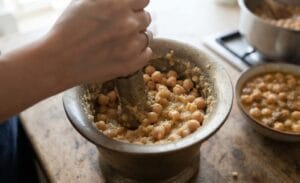
- The Texture: Take a small portion of the boiled chickpeas and mash (crush) them using your hands or a spoon. This is the exact secret that makes the gravy thick and creamy like "Chikar" style
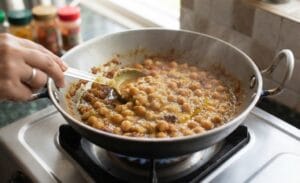
- Final Touch: Add the mashed chickpeas and the rest of the boiled chickpeas into the masala. Pour in a little of the reserved chickpea boiling water and let it simmer on low heat for 10-15 minutes.
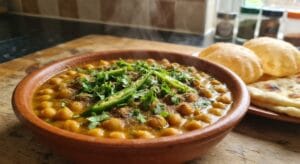
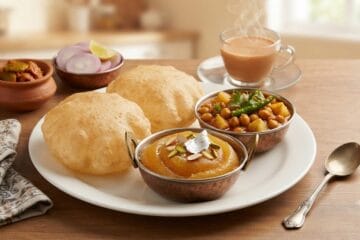
- Garnish: Garnish with freshly chopped coriander, green chilies, and a sprinkle of garam masala. Serve piping-hot with puris or naan.
Introduction Lahori Chana Recipe
“Do you also miss that same old street-style ‘Lahori Chana Recipe’ or ‘Chikar Cholay’ on a Sunday morning? Enjoying these chickpeas with piping-hot puris is a totally different kind of joy. Today, I am sharing my secret and authentic recipe with you that will give you the exact taste of a restaurant!”
Description:
Make authentic, bazaar-style Lahori Chana Recipe (Chikar Cholay) right at home! Learn the secret to making perfectly thick and creamy chickpeas with this step-by-step recipe. It is the best and easiest way to make your Sunday breakfast special!”
Pro-Tips for Perfect Results Lahori Chana Recipe
- Chikar Texture: If you prefer your chana to be extra thick and creamy, take a small portion of the boiled chickpeas, blend them into a smooth paste in a blender, and mix them back into the gravy.
- The Magic of Soda: Adding a pinch of baking soda while boiling the dry chickpeas ensures they soften uniformly and achieve that traditional, melt-in-the-mouth texture.
- Slow Simmering: Let the cholay simmer on low heat for a few minutes after adding the spices and yogurt. This allows the oil to separate gracefully to the top, giving it that authentic restaurant appearance.
- Serving Best Practices: Always serve Lahori Chana piping hot with fresh, fluffy puris, boiled eggs, and a slice of lemon or pickled green chilies for the ultimate breakfast experience!
Frequently Asked Questions (FAQs)Lahori Chana Recipe
1. Why are they called “Chikar Cholay”?
- Answer: “Chikar” translates to smooth or mud-like in Punjabi, referring to the signature thick, velvety, and creamy texture of the gravy. Unlike regular clear chickpea curries, Chikar Cholay feature a rich, thick base achieved by partially mashing the soft-boiled chickpeas and simmering them with spices and yogurt.
2. Do I need to soak the chickpeas overnight?
- Answer: Yes, soaking dry chickpeas overnight (for 6 to 8 hours) is essential. It softens the beans thoroughly, cuts down the cooking time, and ensures they cook evenly to achieve that traditional melt-in-the-mouth texture.
3. Can I use canned chickpeas to make Lahori Chana?
- Answer: While you can use canned chickpeas for a quick fix, authentic Lahori Chikar Cholay taste best when made from scratch using dry chickpeas. Boiling dry chickpeas allows the starch to naturally thicken the cooking liquid, which is key to getting that authentic street-style consistency.
4. What is the secret to getting a thick and creamy gravy?
- Answer: The main secret is mashing a portion of the boiled chickpeas directly into the pot using a back of a spoon or a potato masher. Additionally, adding whisked yogurt and letting the dish simmer slowly on low heat helps bind the gravy together.
5. What goes best with Lahori Chana (Chikar Cholay)?
- Answer: These cholay are traditionally served piping hot for Sunday breakfast with fresh, fluffy puris or crisp tandoori naan. Complement the meal with sliced onions, pickled green chilies, and a boiled egg for the ultimate authentic experience!
Conclusion
Bringing the authentic taste of old Lahore straight to your dining table has never been easier! With this step-by-step guide, you can now recreate that rich, velvety, and flavorful Lahori Chana Recipe (Chikar Cholay) right in your own kitchen. Whether it is a lazy Sunday morning or a cozy family breakfast, pairing these thick and creamy chickpeas with piping-hot puris or fresh naan is guaranteed to make your meal unforgettable. Try out this secret recipe, share it with your loved ones, and let the traditional aromas fill your home with happiness
Aap ko hamaari ye recipe kaisi lagi?Hum umeed karte hain ke aapko yeh Lahori Chana Recipe zaroor pasand aayi hogi. Agar aapne isay try kiya hai, toh apna experience hamare sath comments section mein zaroor share karein!


0 Comments